

Along with the parades, masquerade balls, and traditional Mardi Gras cuisine, we have king cake. A king cake is a sweet coffee cake type cake served in many predominantly catholic cities around the time of Epiphany. That being the official last day of Christmas and some other biblical mumbo... But in New Orleans, we have king cake in association with Mardi Gras/Carnival.
New Orleans style king cakes can be filled with various fillings from cinnamon and sugar to cream cheese and even nuts. The sky is the limit with filling ideas. The topping can be colored glazes, colored sugars, drizzles of white glaze on colored sugars, mardi gras beads, doubloons, whatever your little heart desires. The thing that MUST be present in a Mardi Gras King Cake is the baby. By baby, I mean a trinket that is hidden inside of the king cake and found by one of the lucky eaters of the delicious king cake. I've had some trinkets of porcelain religious figures, plastic babies and most recently, I added a lego figure into my king cake for a group of very fun kids for whom I taught the joys of making, baking and eating a traditional king cake. For safety's sake, make sure it is about the size of a lego man.
This recipe is a gluten-free recipe. I live in LA, now, and gluten-free is pretty prevalent. Why not make a delicious king cake that can be enjoyed by everyone? (Ok, it had real cane sugar in it, but I look at this as baby steps. Rome wasn't built in a day, and recipe conversion to gluten-free/low-glycemic/sans-preservatives can take a while. (Honestly, I made a version of the latter and it was fantastic, so I shouldn't be too hard on myself.) The colored sugar is a must for the kids. (This big kid in particular!) But I will figure out how to add food-coloring-free to the "reinvention of king cake" recipe.

I found this recipe on gluten-free on a shoestring. Nicole Hunn says, that "if they can make it with gluten, we can make it without." The thing I like about her recipes is that she tests and tries different gluten free flour mixes and knows how they work or why they don't. I am very particular, but she kinda takes being a perfectionist to a whole new level. And god love her for it. The truth is, baking is already a science. Gluten-free baking is even more-so. Take her with a grain of salt, but know that she's incredibly good at what she does. I'm a fan.
For this recipe, I used King Arthur Gluten-Free Bread and Pizza Crust Mix. I've really enjoyed the results with the King Arthur Gluten-Free Flours. So, try some for yourself.
Without further ado, Laissez Les Bon Temps Rouler!!!

Gluten-Free King Cake
Amazing texture and fun for Carnival!
INGREDIENTS
FOR THE BREAD
3 1/4 cups (455 g) King Arthur Bread and Pizza Crust Mix, plus more for sprinkling
1/4 teaspoon cream of tartar
2 teaspoons (6 g) instant yeast, or fast yeast
1/4 cup (50 g) granulated sugar
1/2 teaspoon (3 g) kosher salt
2 tablespoons (28 g) unsalted butter, at room temperature
8 ounces sour cream, at room temperature
1 egg (60 g, out of shell) at room temperature, beaten
3 to 4 ounces warm water (about 95°F) (measure by weight, not by volume)
FOR THE FILLING
4 tablespoons (56 g) unsalted butter, melted
1/2 cup (100 g) granulated sugar
2 teaspoons ground cinnamon
1/8 teaspoon kosher salt
FOR THE GLAZE & SUGARS
2 cups (230 g) confectioners’ sugar
1 tablespoon (14 g) unsalted butter, at warm room temperature
2 tablespoons milk, at room temperature, any kind (plus more by the 1/4 teaspoon if necessary)
Green, Yellow and Purple Sparkling Sugars
DIRECTIONS
In the bowl of your stand mixer, place the flour, cream of tartar, instant yeast and sugar, and use a handheld whisk to combine well. Add the salt and whisk to combine well. Add the butter, sour cream, egg and 3 ounces water, and mix on low speed with the dough hook until combined. Raise the mixer speed to medium and knead for about 5 minutes. The dough should be a lovely, smooth, enriched dough. If necessary to achieve the desired texture, add the remaining 1 ounce of water and knead again until smooth. The dough should climb up the dough hook during kneading but remain intact and smooth. Spray a silicone spatula lightly with cooking oil spray, and scrape down the sides of the bowl. Transfer the dough to a lightly oiled bowl or proofing bucket large enough for the dough to rise to double its size, spray the top of the dough with cooking oil spray, and cover with an oiled piece of plastic wrap (or the oiled top to your proofing bucket). Place the dough in the refrigerator for at least 12 hours and up to 3 days.**
**Note: If you prefer, you may make and use this dough on the same day. It will not be as easy to handle, and will not rise as smoothly, however. To use the dough the same day it is made, after making the dough, set the covered dough to rise in a warm, draft-free environment to allow it to rise to double its size (about 1 hour). Once it has doubled, place it in the refrigerator for at least 15 minutes or until it is chilled. This will make it much easier to handle. Then, continue with the rest of the recipe instructions.
Preparing the dough for shaping. On baking day, turn out the chilled dough onto a lightly floured surface and, using the scrape and fold kneading method and using a very light touch, sprinkle the dough with more flour and knead it lightly, sprinkling with flour when necessary to prevent it from sticking, scrape the dough off the floured surface with a floured bench scraper, then fold it over on itself. Repeat scraping and folding until the dough has become smoother. This dough should not need much work to become smooth. Do not overwork the dough or you will incorporate too much flour and it will not rise properly.
Shaping, filling and assembling the dough. Line a large, rimmed baking sheet with unbleached parchment paper and set it aside. On a lightly greased piece of unbleached parchment paper placed on a large flat surface, use a floured rolling pin to roll the dough into a rectangle that is about 18-inches by 14-inches, and about 1/4-inch thick. (Careful not to let parts of the dough be too thin, as this will result in exploded sides during baking. It's totally fine, though. Just one less place to hide the baby.) In a small bowl, place all of the filling ingredients and mix to combine well. With a large, dull knife or offset spatula, spread the filling evenly over the entire surface of the dough, leaving a 1-inch border clean all around the perimeter. Using the parchment paper to aid you, beginning at one of the long sides, roll the dough tightly into a cylinder and pinch the seam and the ends closed securely. Transfer to the prepared baking sheet, seam side down, join the ends together and pinch them closed securely. Sprinkle the top and sides of the dough generously with bread flour to provide the dough a cloak to rise into, cover with greased plastic wrap and set in a warm, draft-free location to rise for about 40 minutes, or until it reaches about 150% of its original size. Do not overproof. As the dough is nearing the end of its rise, preheat your oven to 350°F.
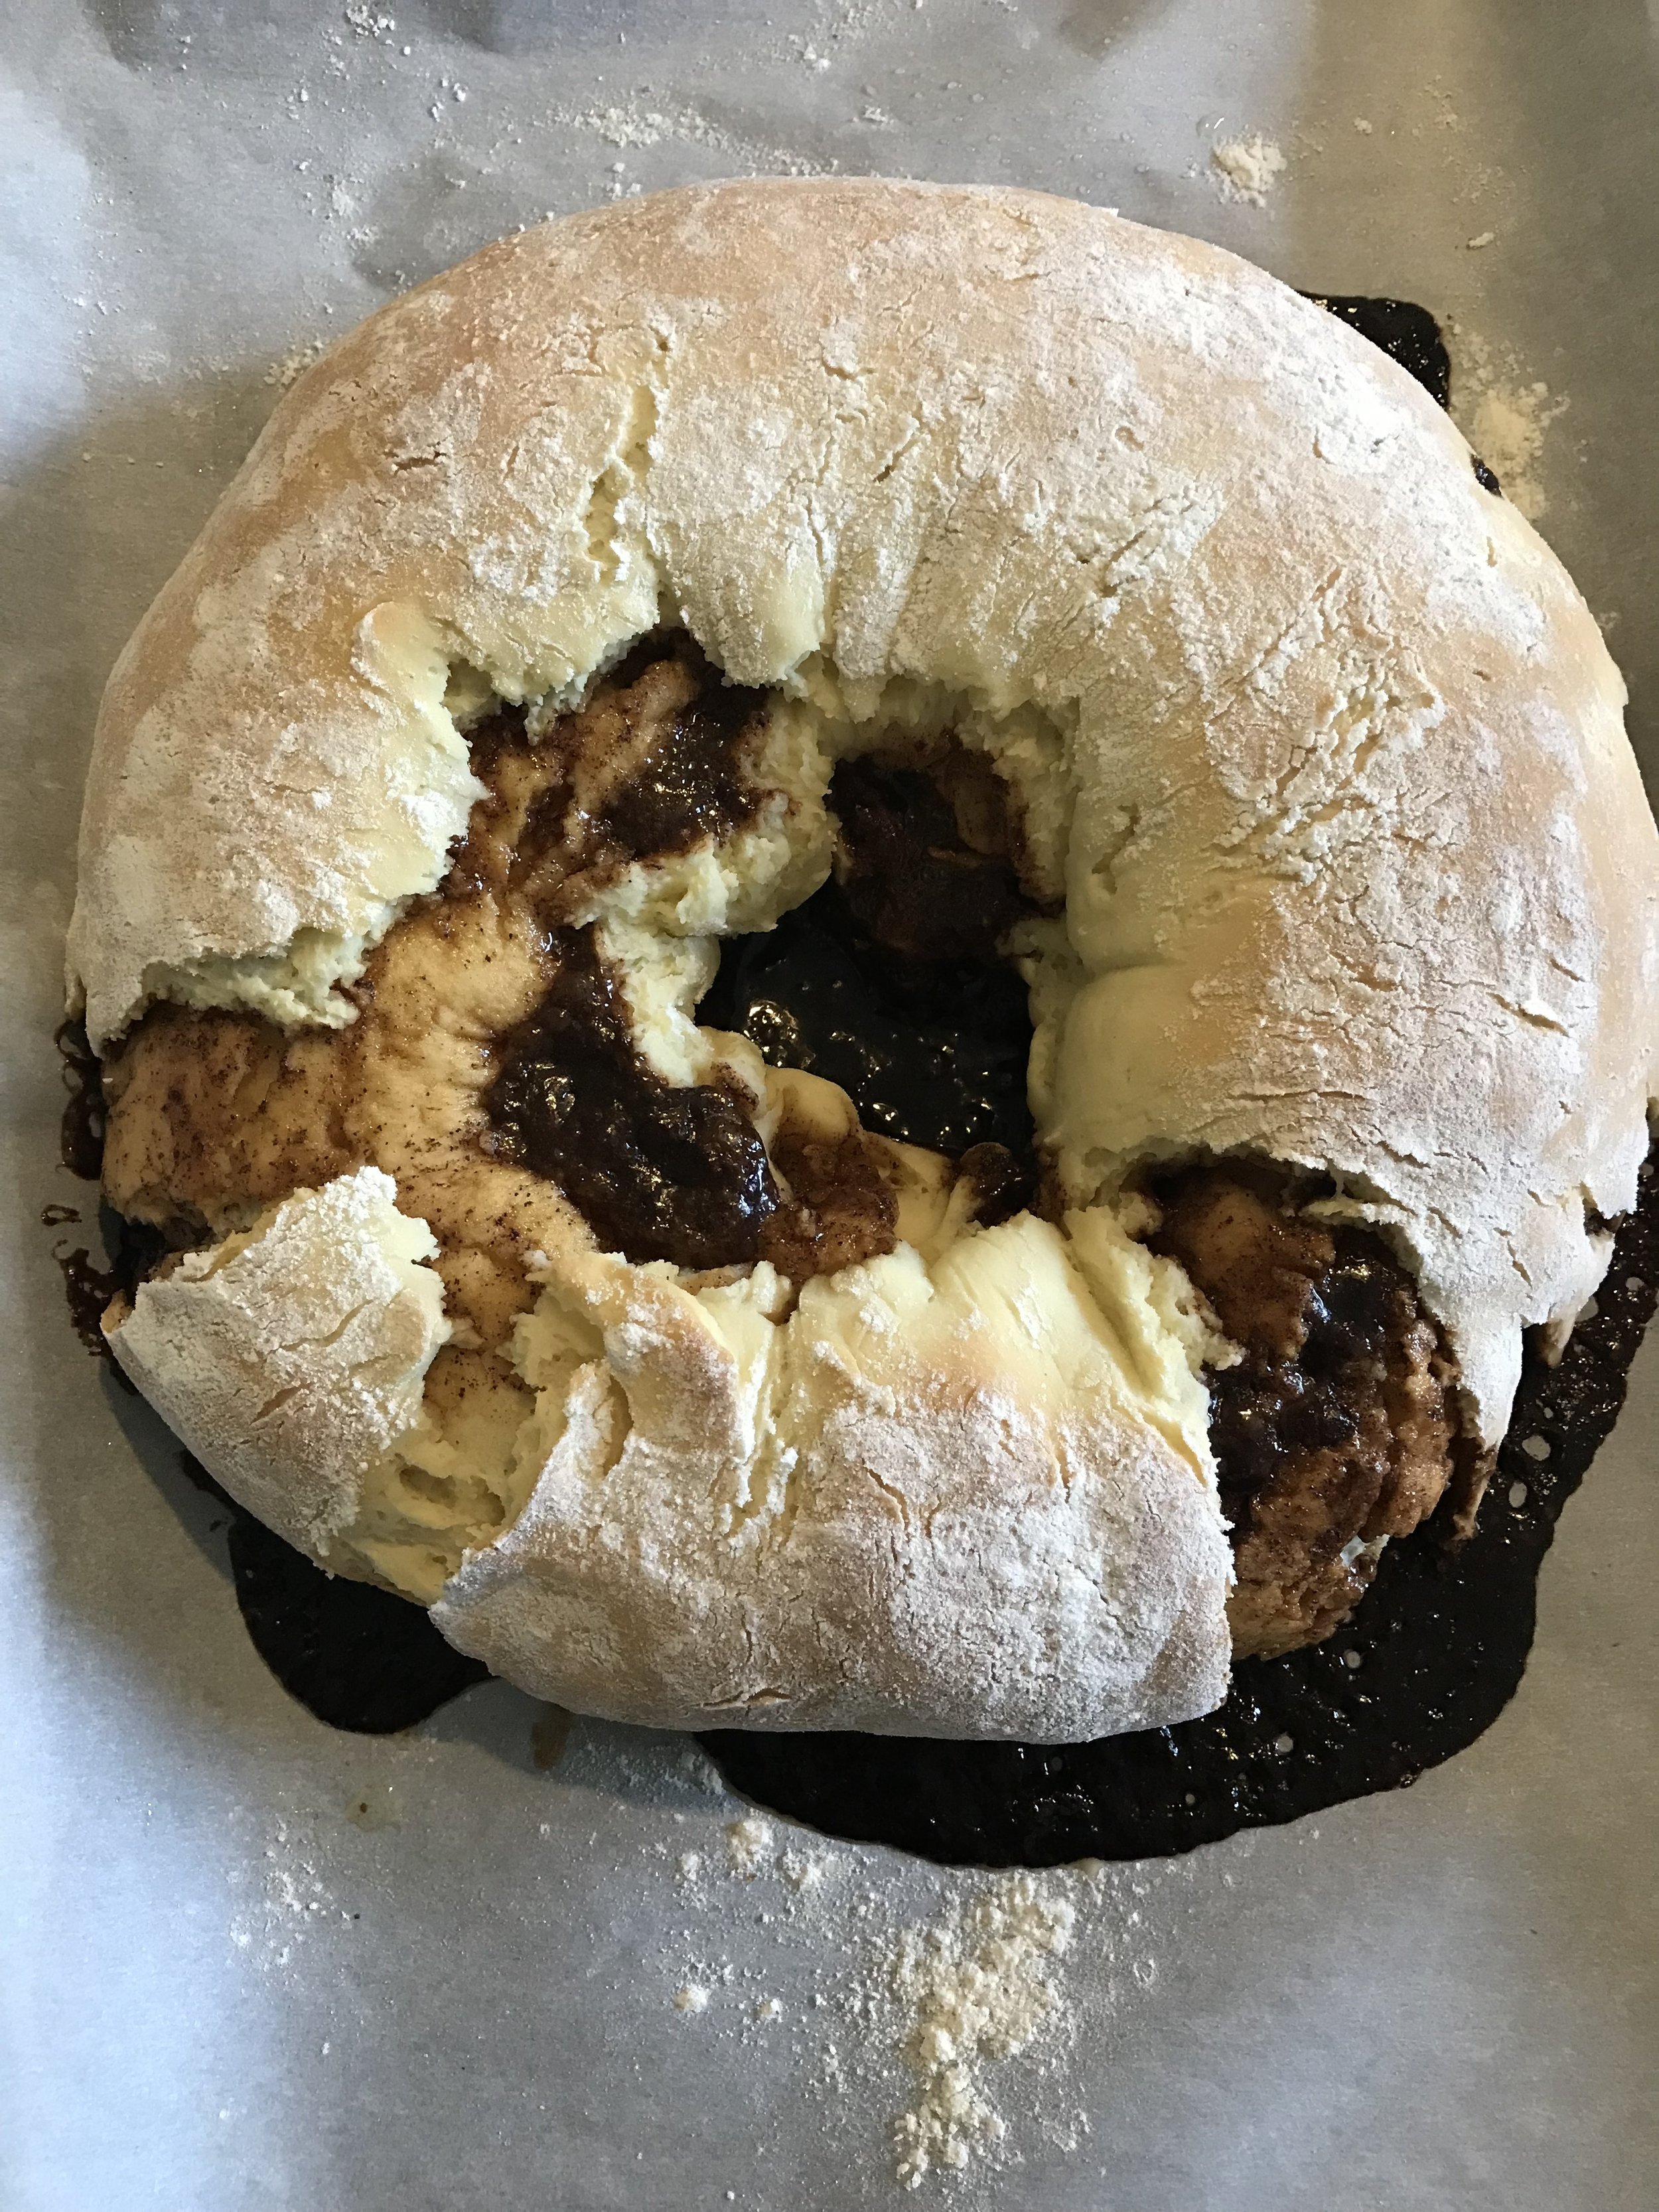
Bake. Once the dough has finished rising, remove the plastic wrap and place the pan in the center of the preheated oven. Bake until lightly golden brown all over (about 30 minutes). The key here is light brown. You could over bake the cake very easily, so pull it out when it's just short of being firm to the touch when poked. Allow to cool for about 10 minutes on the pan before transferring onto a wire rack to cool completely. Once cool, the cake and any cinnamon-sugar filling that has oozed out and caramelized will be firm enough to slide right off the parchment paper onto your serving plate.
This is the point when you can hide your plastic baby, or porcelain figurine in the underside of the cake. Just push it in from the bottom so it is hidden.
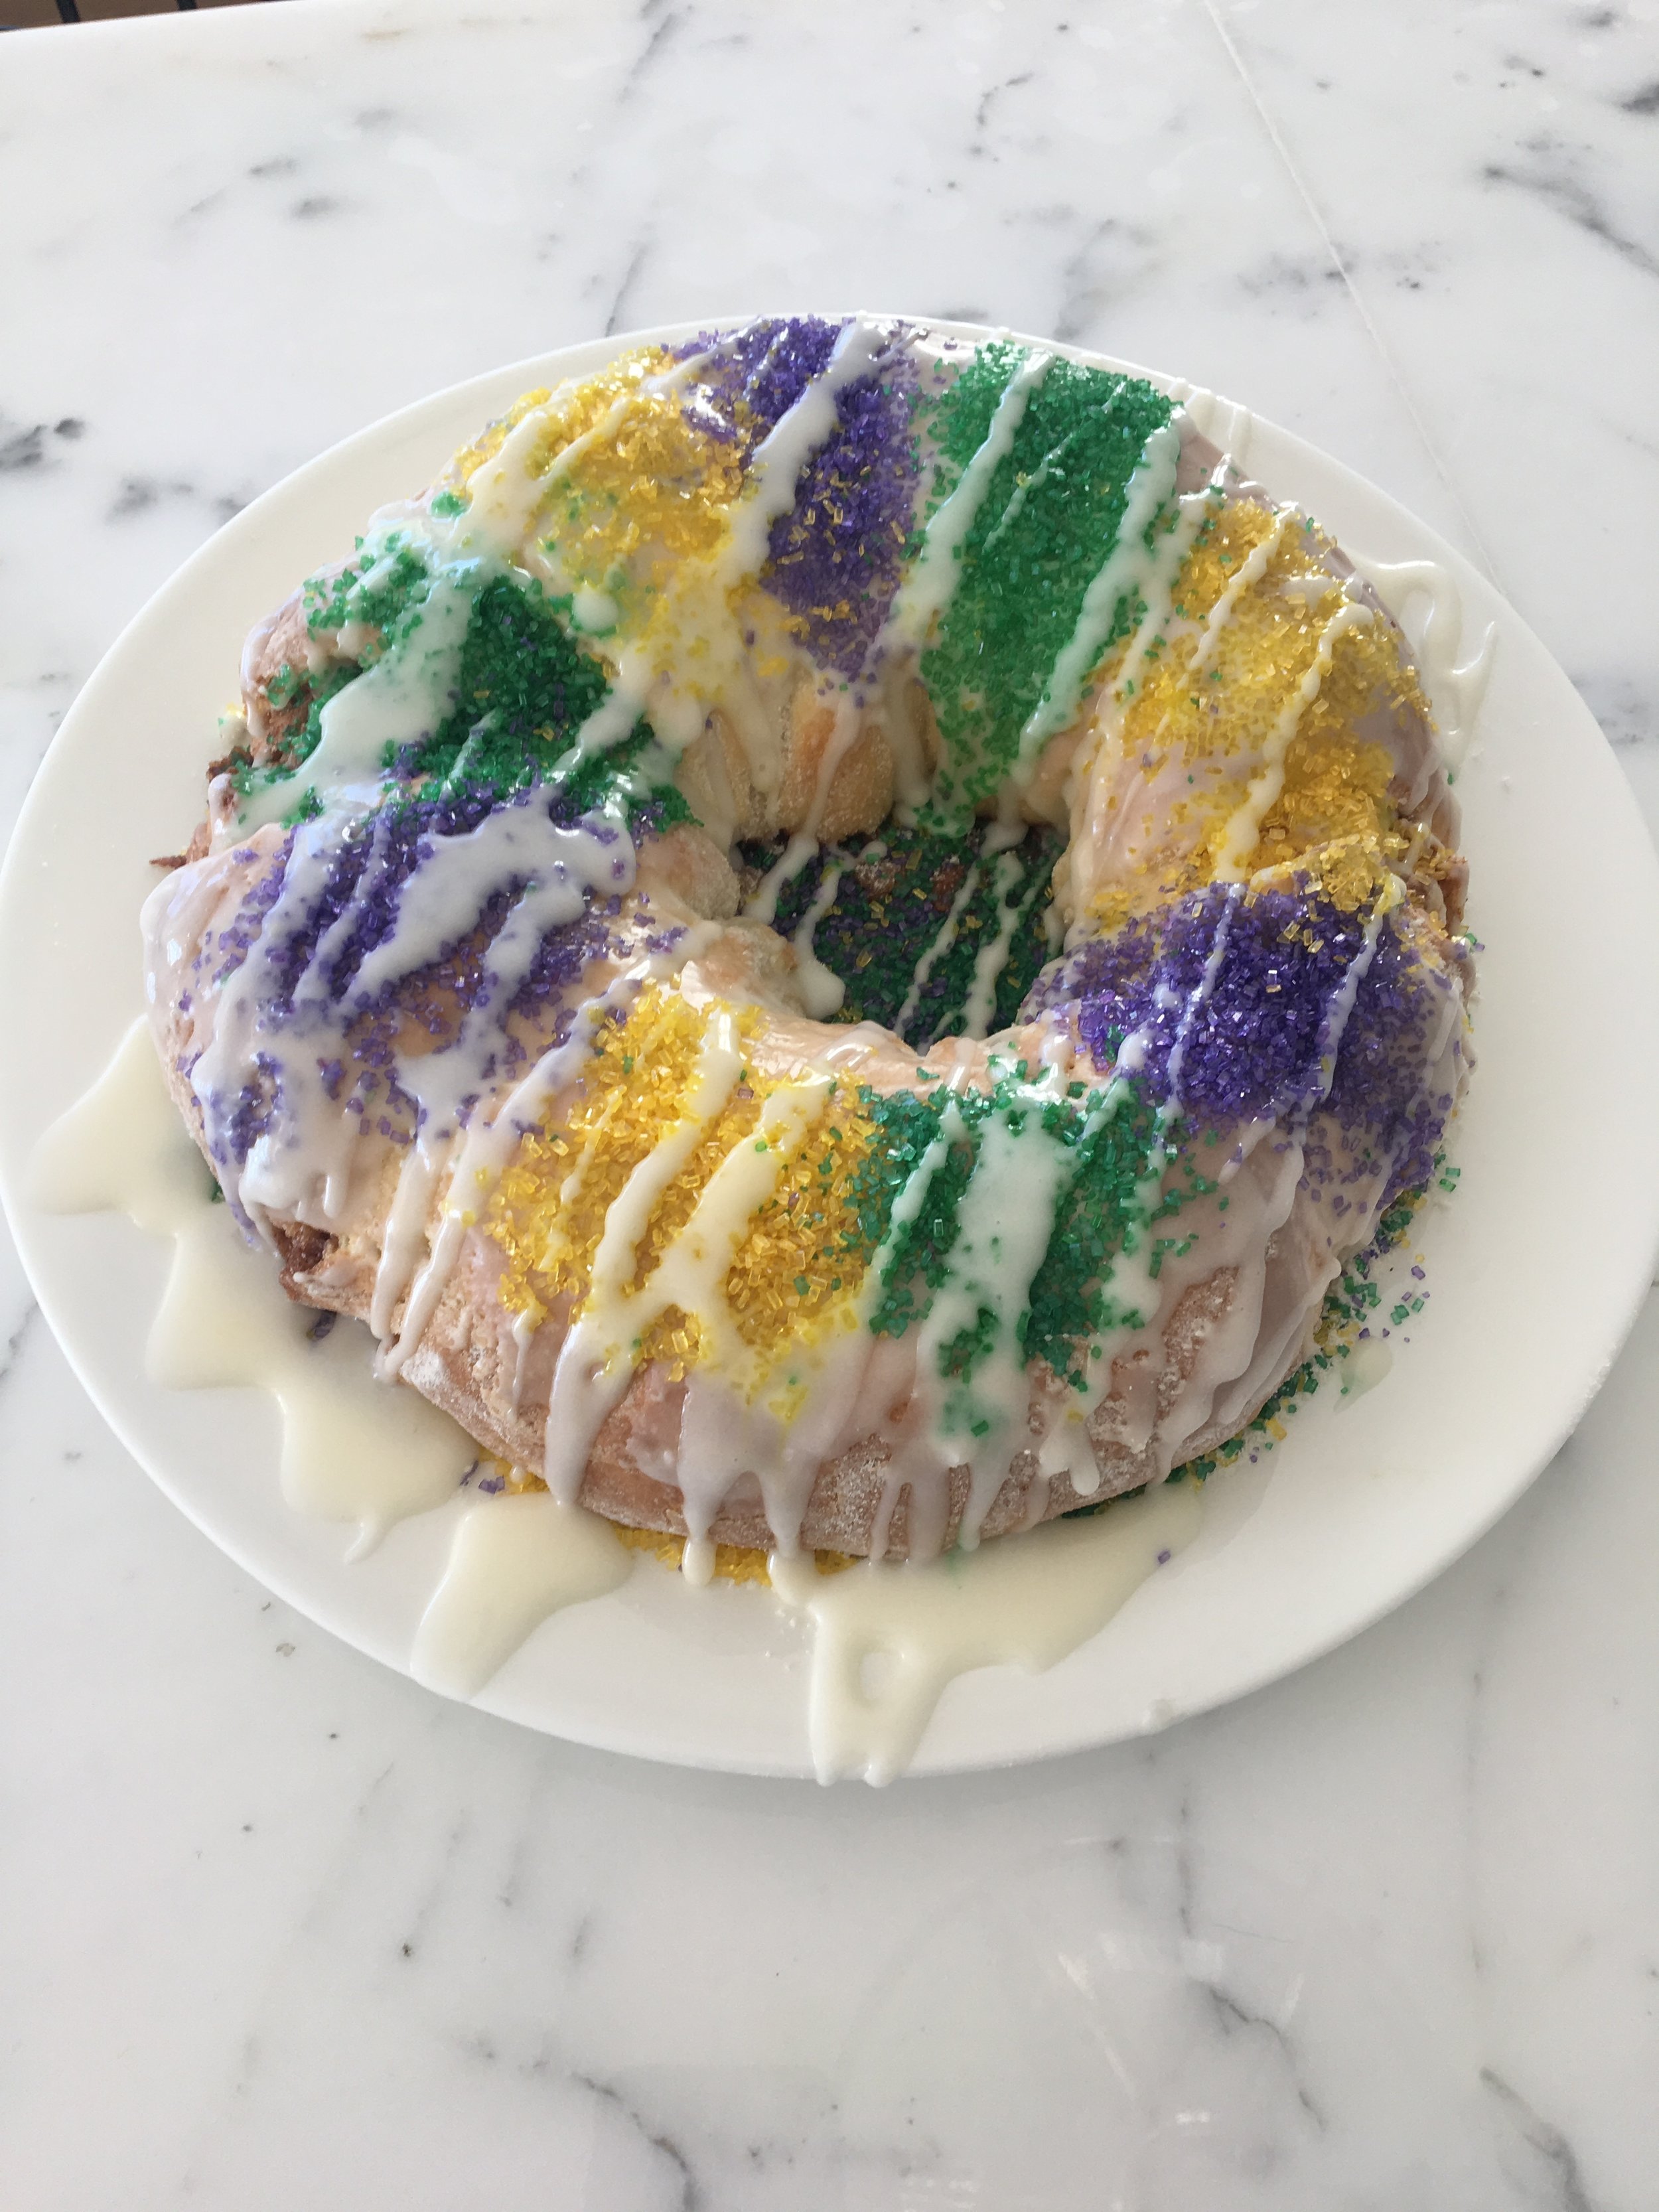
Glaze and Decorate. While the bread is cooling, make the glaze. To make the glaze, mix the confectioners’ sugar, butter and 1 tablespoon milk into a thick paste. Add the remaining tablespoon milk one teaspoon at a time, mixing well, until you have a glaze that is smooth and thickly pourable. If it is very hard to stir, it needs another drop or two of milk. Set the glaze aside briefly. If the butter is still in chunks, just microwave the mixture for 10-15 seconds at a tie until the butter just melts.
Pour or brush about half the glaze on the top of the cake and allow some to run down the sides in thick drips. Sprinkle the colors of Mardi Gras in repeating patterns around the cake. I like to do about 2 of each color for this size cake. Then! Drizzle the remaining glaze over the cake in lines over the top of the colors for a dramatic effect. Let the cake cool and the glaze set before cutting into it.
Gather your friends around and cut into it so that everyone gets a piece. The person who gets the baby, or in our case, the lego man, wins!
Enjoy!
For the original recipe with lots of tips on how to make your own gluten-free baking mixes, go to www.shoestringonabudget.com.
Here are links to some of the ingredients I mention in my recipe.